Installation
Below we will outline some of the main functionality of the NetLog software in a way that is easily understood. The use of screenshots will help familiarise you with the software prior to testing.
Obtaining the Installer
- Download the installer by selecting the download button from the download page. You should be automatically prompted to save the file to your local hard drive. If you are using a custom download helper please remember the download location.
-
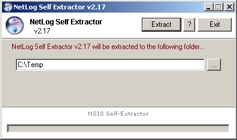
Navigate to the downloaded file and run the file. You should be prompted with the self extractor screen below.
Installation - Extraction
The installer is a self extracting executable that does not require additional software to begin the installation.
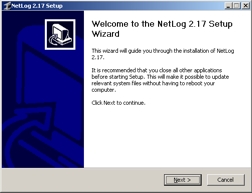
Once an extraction location has been set and continue selected, the saftware will extract the installer to the designated path. When complete the NetLog installer will open
Installation - Main Installer
The main software installer will guide you through the installation process. First you will be asked to accept the standard terms and conditions of use. Once you have accepted the terms and conditions via the checkbox, you will be able to continue.
The next screen will ask for the installation directory. This can be customised or left with the default path (recommended).
Installation - Components
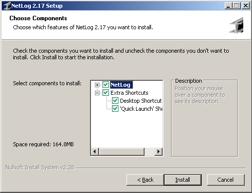
Moving on to the next screen you will be prompted to choose which shortcuts will be installed. The default will install both a desktop and quick launch shortcut.
Once the shortcuts have been selected and the Install button selected the application will continue to install the required files.
Please note that the application has several dependancies which may take several minutes to install.


